History
In 1993 I needed a car. My wife, knowing that I wanted a DeLorean found one in Carmel, CA (#2979) that I thought was reasonably priced, and also in great condition – only 17K miles on it, and I’d be the third owner. Got a loan, bought the car. That was an experience because I had to find a car appraiser (who knew such people existed?) but it happened.
The kids came one & three years later, making the car somewhat less practical but I kept it through the years and it is mostly original.
Before I got it some work was done (go figure): the coolant tank is aluminum, the cooling fan relay was pulled out (not just removed mind you).
Stuff That’s Been Done
- Door Struts – at least two pair through the years.
- Louvre Struts – again, at least two pair through the years.
- Radio – replaced.
- Left-side Window Regulator – replaced (see below)
- Alternator – replaced with the Ducellier that actually supplies enough power
- Air conditioning – upgraded to R134, new compressor
- Speedo cable – replaced, broke again, left broken (it’s on my list)
- Dashboard – cracked, damn it — the small `cat scratch’ type cracked. I just bought a cover for it.
- Windshield – replaced. The original had the built-in antenna, the new one does not. It’s cracked again so I’m looking at another replacement.
Replacing the Window Regulator
This was a six month odyssey. One day, the window went down as usual, but not back up. So…since the car is 38 years old as of this writing, the time had probably come to replace it. I’ve taken apart the inside of the door before, so this shouldn’t be a big deal, right?
I take off the upper panel (easy since the window’s down), take off the armrest (who, exactly, thought tying the armrest to the handle bracket by two screws that require a really long screwdriver was a good idea?), and take off the lower panel. No issues thus far.
I carefully peel back the moisture barrier (which is apparently important to keep even though I cannot drive the car in the rain). Lo’ & behold there’s nothing holding the window regulator in place! Did I luck out? Nah. I screwed it back into place & it still wasn’t working. The motor was running, but the gear had failed. Damn.
OK, off to delorean.com (sorry pjgrady.com, but there’s no ordering online) to order a new window regulator + the two door struts that hold up the shade louvre over the engine since they’ve been dead for a year or so. Yup – the window regulator was backordered. OK, six weeks go by…
Parts come in, and of course I’ve no weekends free. OK, finally a day so I give it a go. The new window regulator came with installation instructions (yeah!) that were apparently photo copies of photo copies. The text was fine, the photos not so much. Unfortunately I apparently threw them away when I finished the project. Here’s what I learned:
- The three pieces above are all that need be removed! I removed quite a bit more making the process much harder than necessary.
- At this point, you must remove the bracket that holds the door handle. There’s no way to get the regulator out or back in without doing so (so kindof ignore the previous point).
- Since the window was down, I had to manually push the tail through the regulator ’til the window was opened about an inch (from the top) so I could get to the screw holding the two together.
- Now, and I cannot stress this enough: grab some duct tape & tape the window into place, inside & out. Yep, I moved the door and the window slid off the tracks. Two hours later, and with the help of my son (in all honesty, he did it himself), the window was back on its tracks.
- This is discussed in this video http://www.8bitdmc.com/2012/12/windows-back-in-business/, you must disassemble the new regulator. It’s only three bolts. The instructions don’t mention this, but I couldn’t get it in without doing so.
- After putting two the pieces in, reassemble the regulator. This isn’t trivial, but patience is a virtue here.
- I was stressed about,“How do I get everything re-connected?” Don’t be. Lightly attach the regulator to the brackets, and everything else lines up just fine.
- Test it, swapping the wires if the motor doesn’t run the right way on the first go, and you’re done.
At this point, remember when I said this took six months? Guess who didn’t get pictures of the disassembly process? Go ahead. So, since I did far more disassembly than necessary I had to take apart the right-side door to figure out where everything went. Not too bad, just annoying.
A side note: since I had both doors disassembled anyway, I went ahead & unplugged the door lock solenoids. I went to a gathering in Las Vegas shortly after getting the car (so summer 1996) and one of the talks was about doing this. Better late than never. I was actually locked into my car for almost an hour at one point & hadn’t locked it since. Now I suppose I can if I ever need to.
Huge thank-you to the yahoo group ncdmc, and specifically Jon Shulman who provided the link to the video above, and Ryan Seo who provided this link on opening up the inside of the door http://dmctalk.org/showthread.php?3180-How-To-Remove-Interior-Door-Panels
Finally, some fun pics:
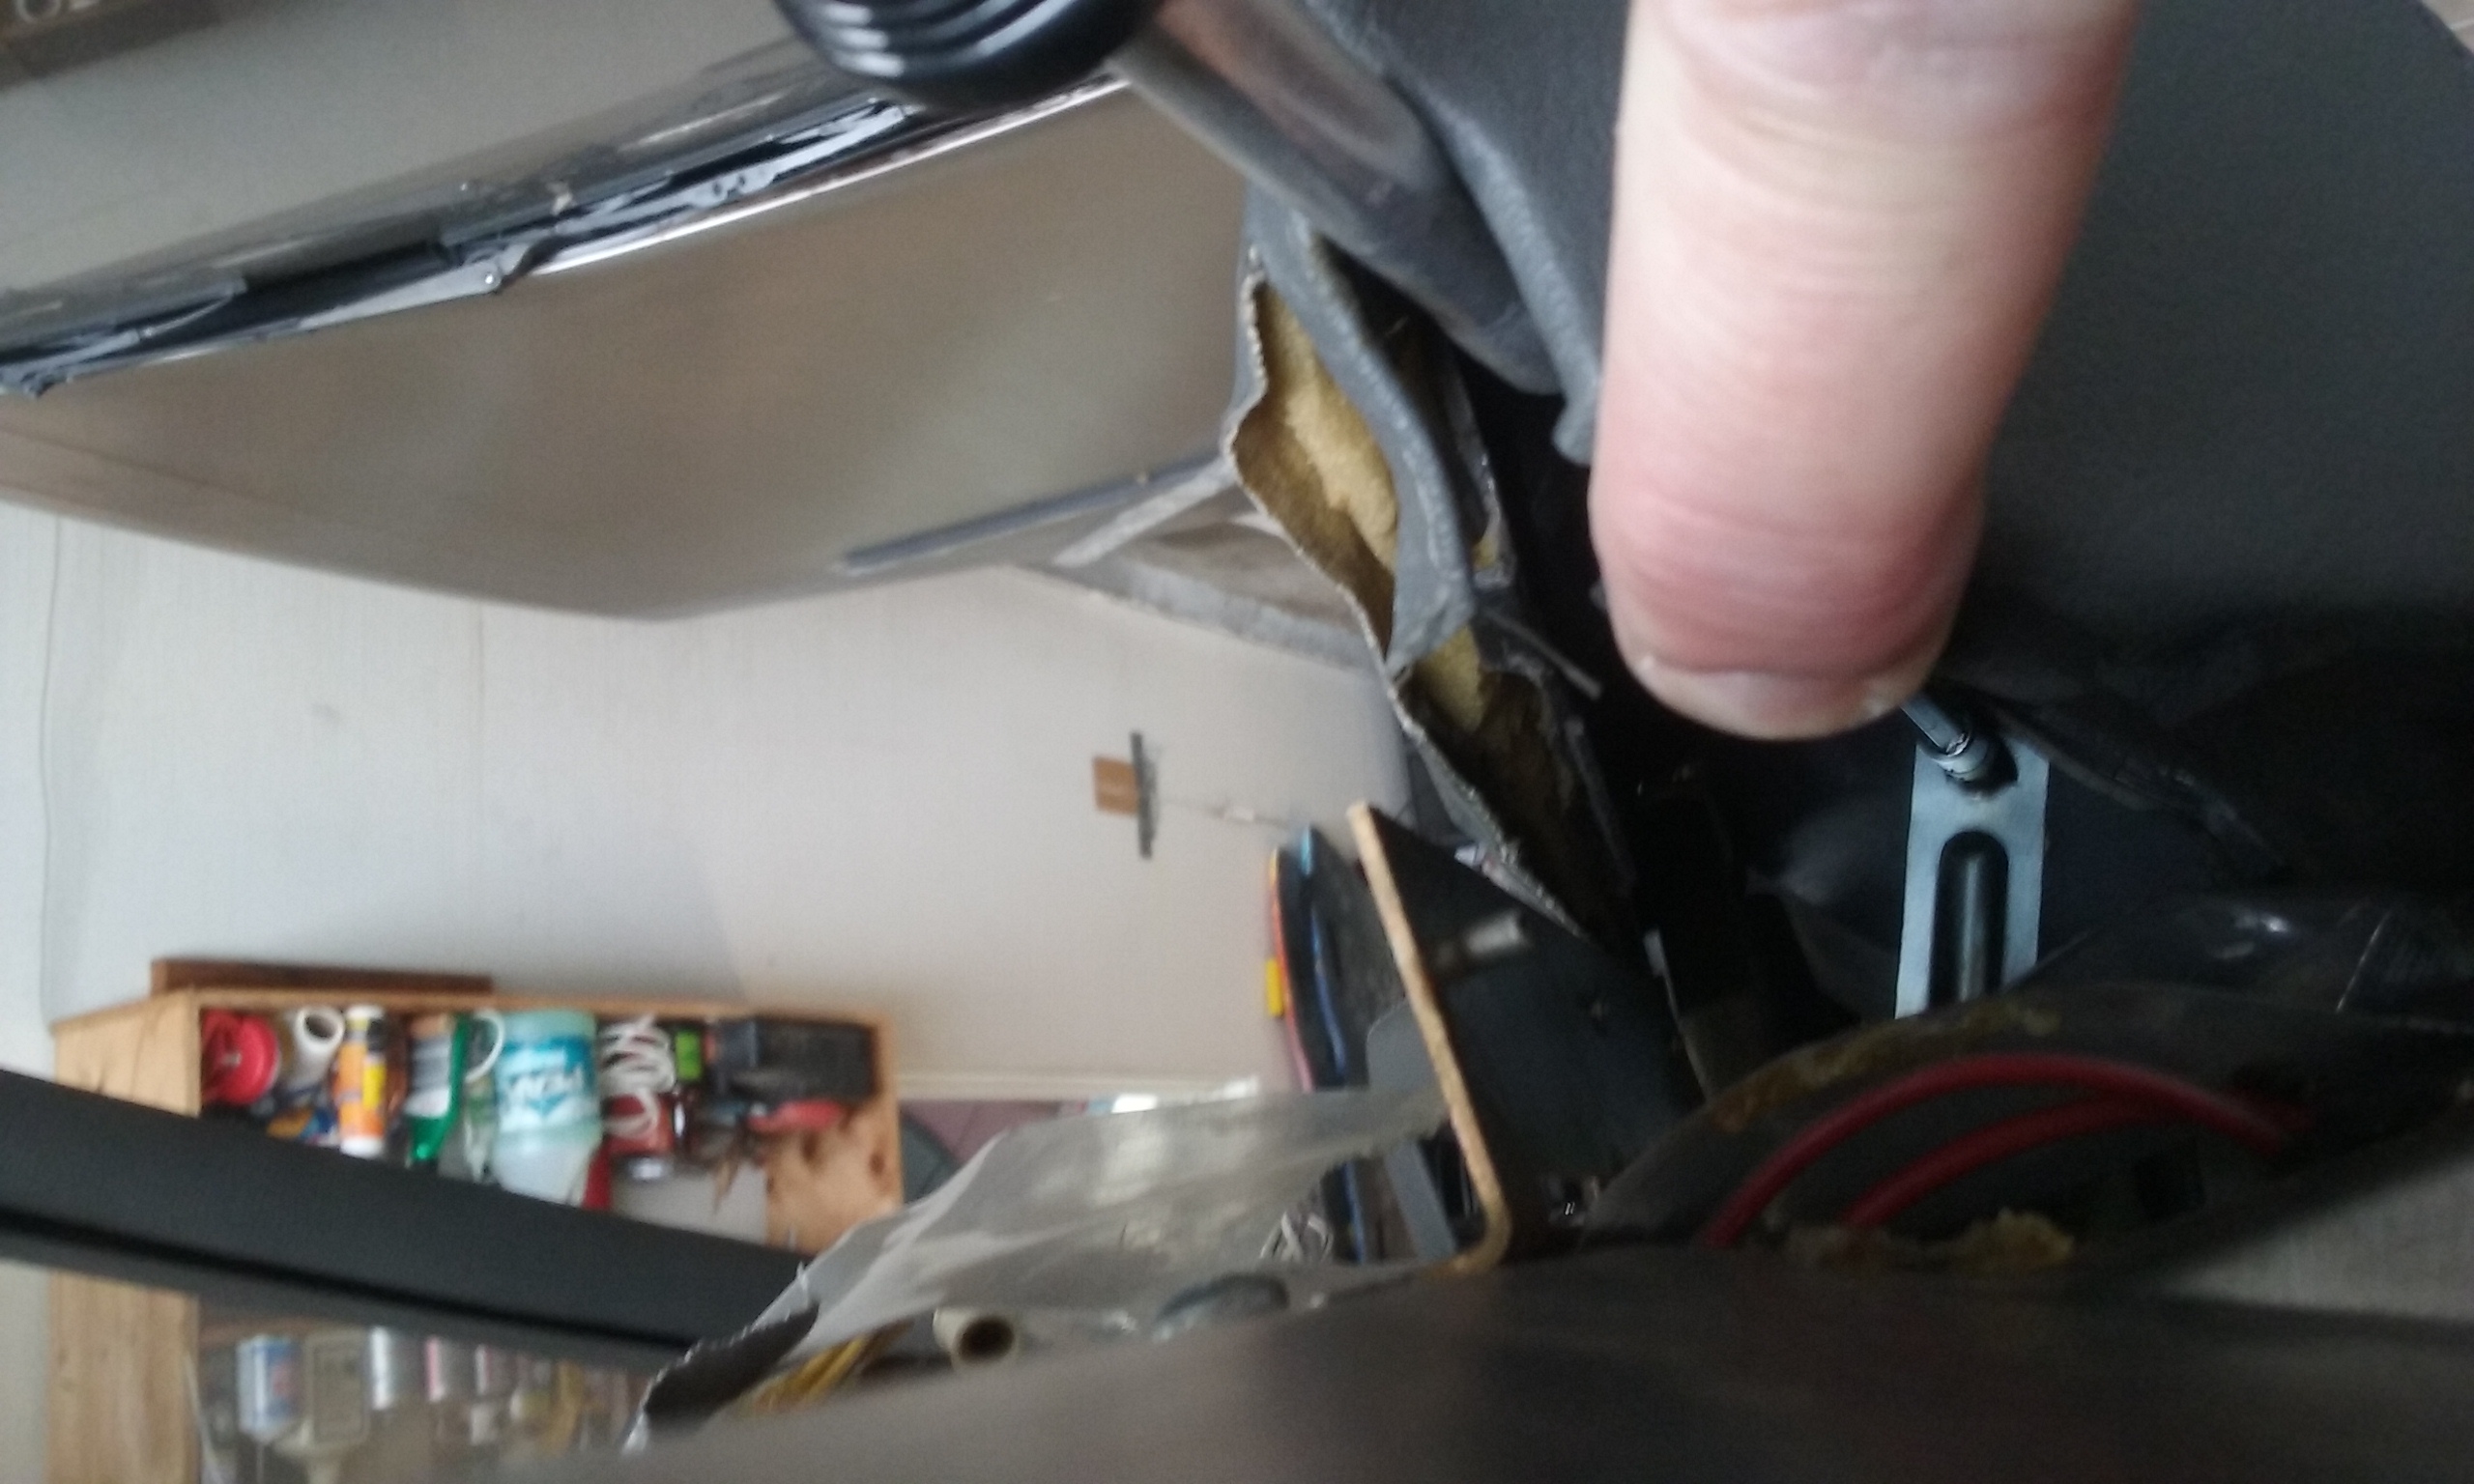
Here’s how to get to the handle bracket: unscrew everything, then push down slightly so you can squeeze the screwdriver in. I used a 12” extension which fit nicely.
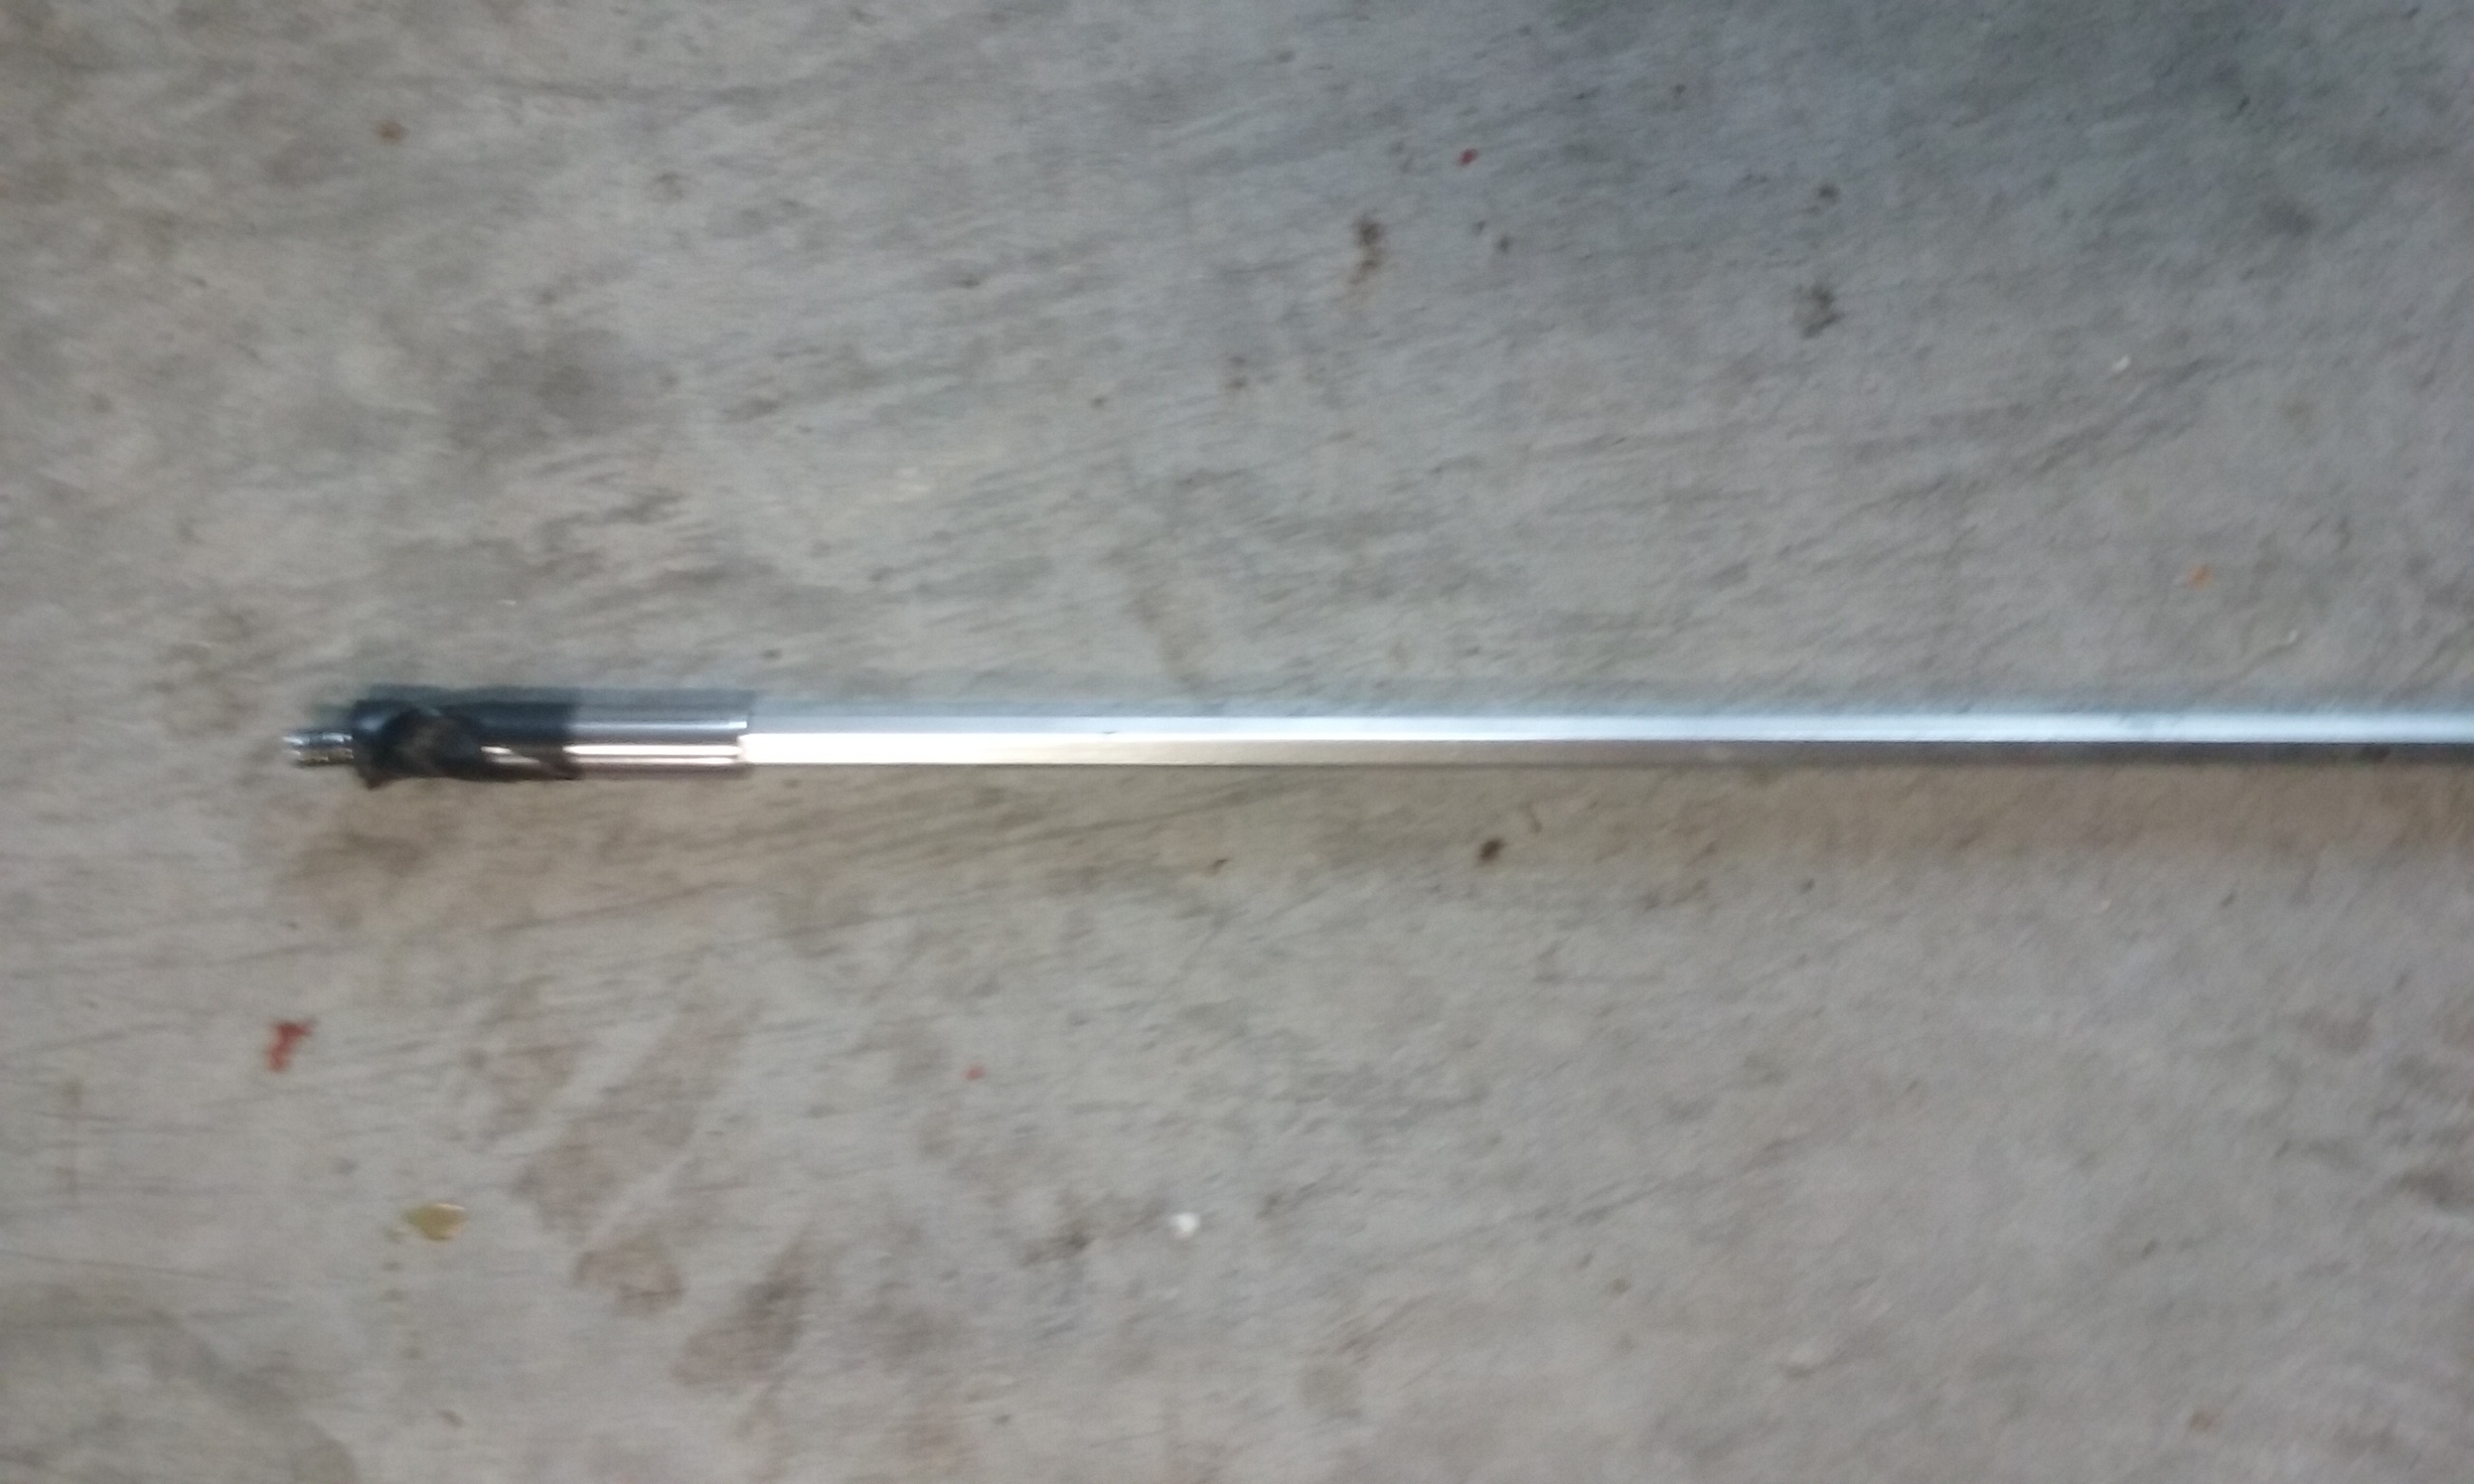
Uh, yeah. I couldn’t figure out a better way to do this when re-installing so I taped the screw to the screwdriver. Once it was fully inserted the tape came loose with no problem.
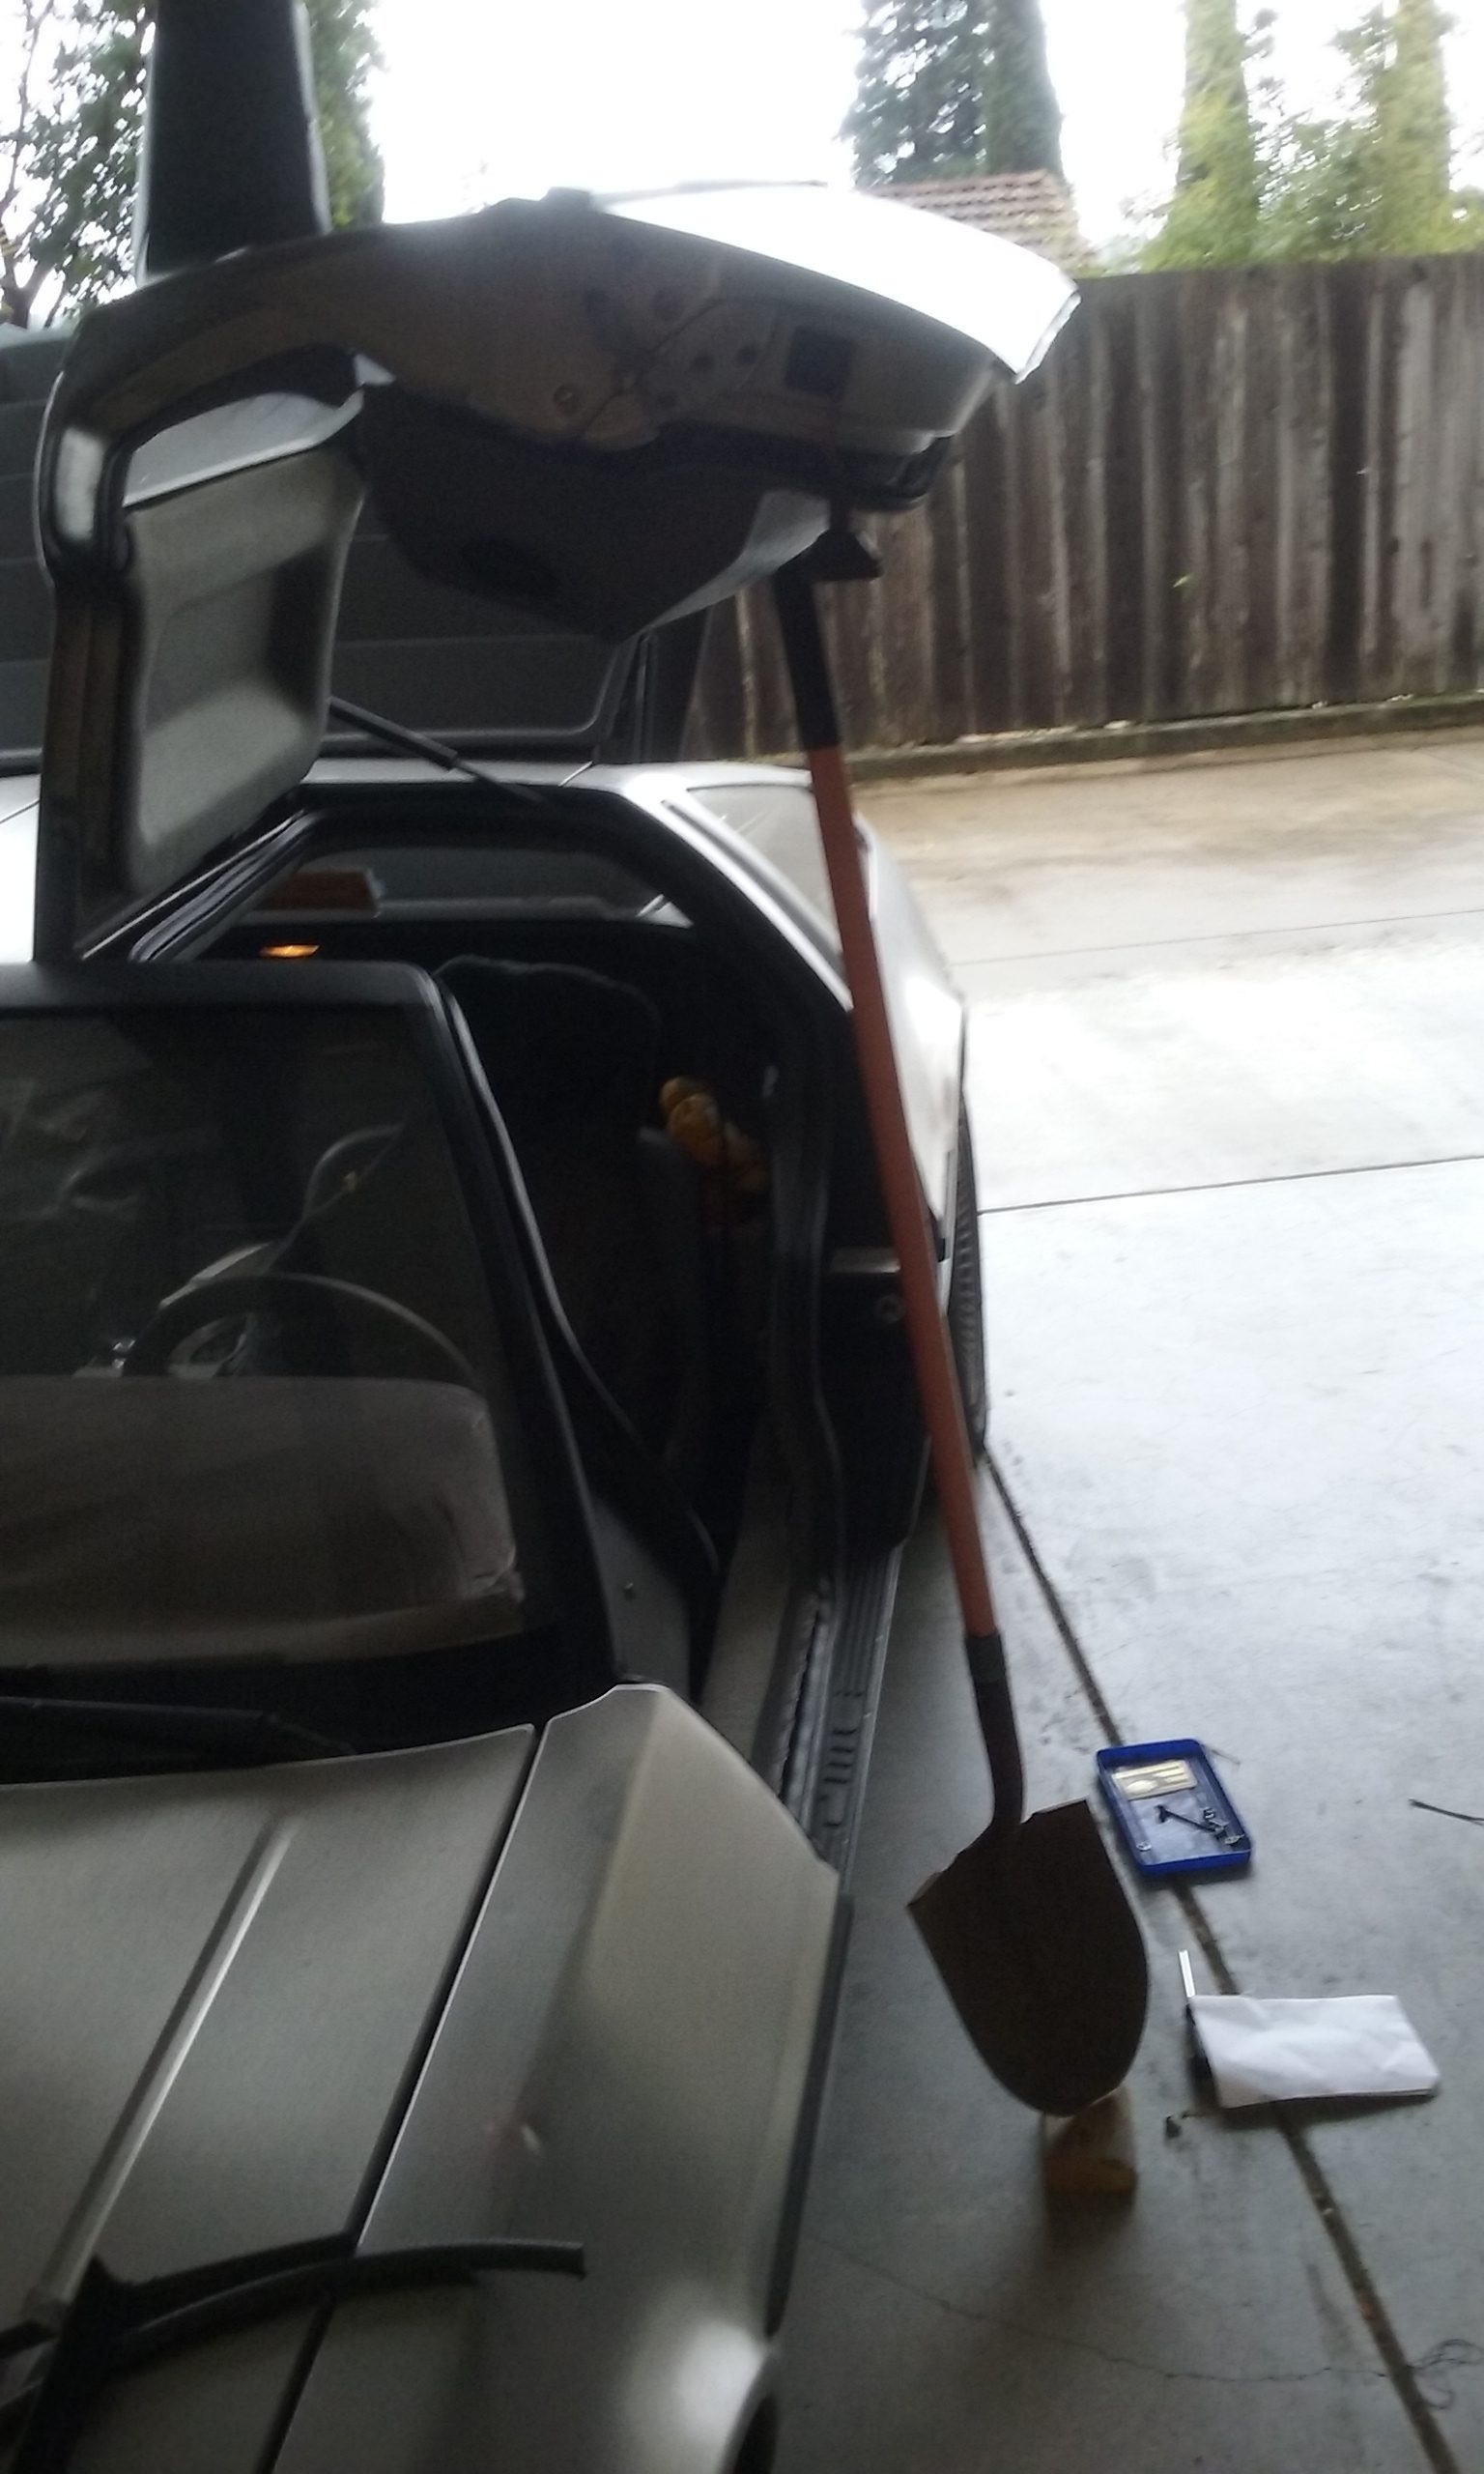
I doubt this is the approved method for re-assembling the door, but propping a shovel under the handle perfectly lines up the handle to the bracket so I could screw it in.
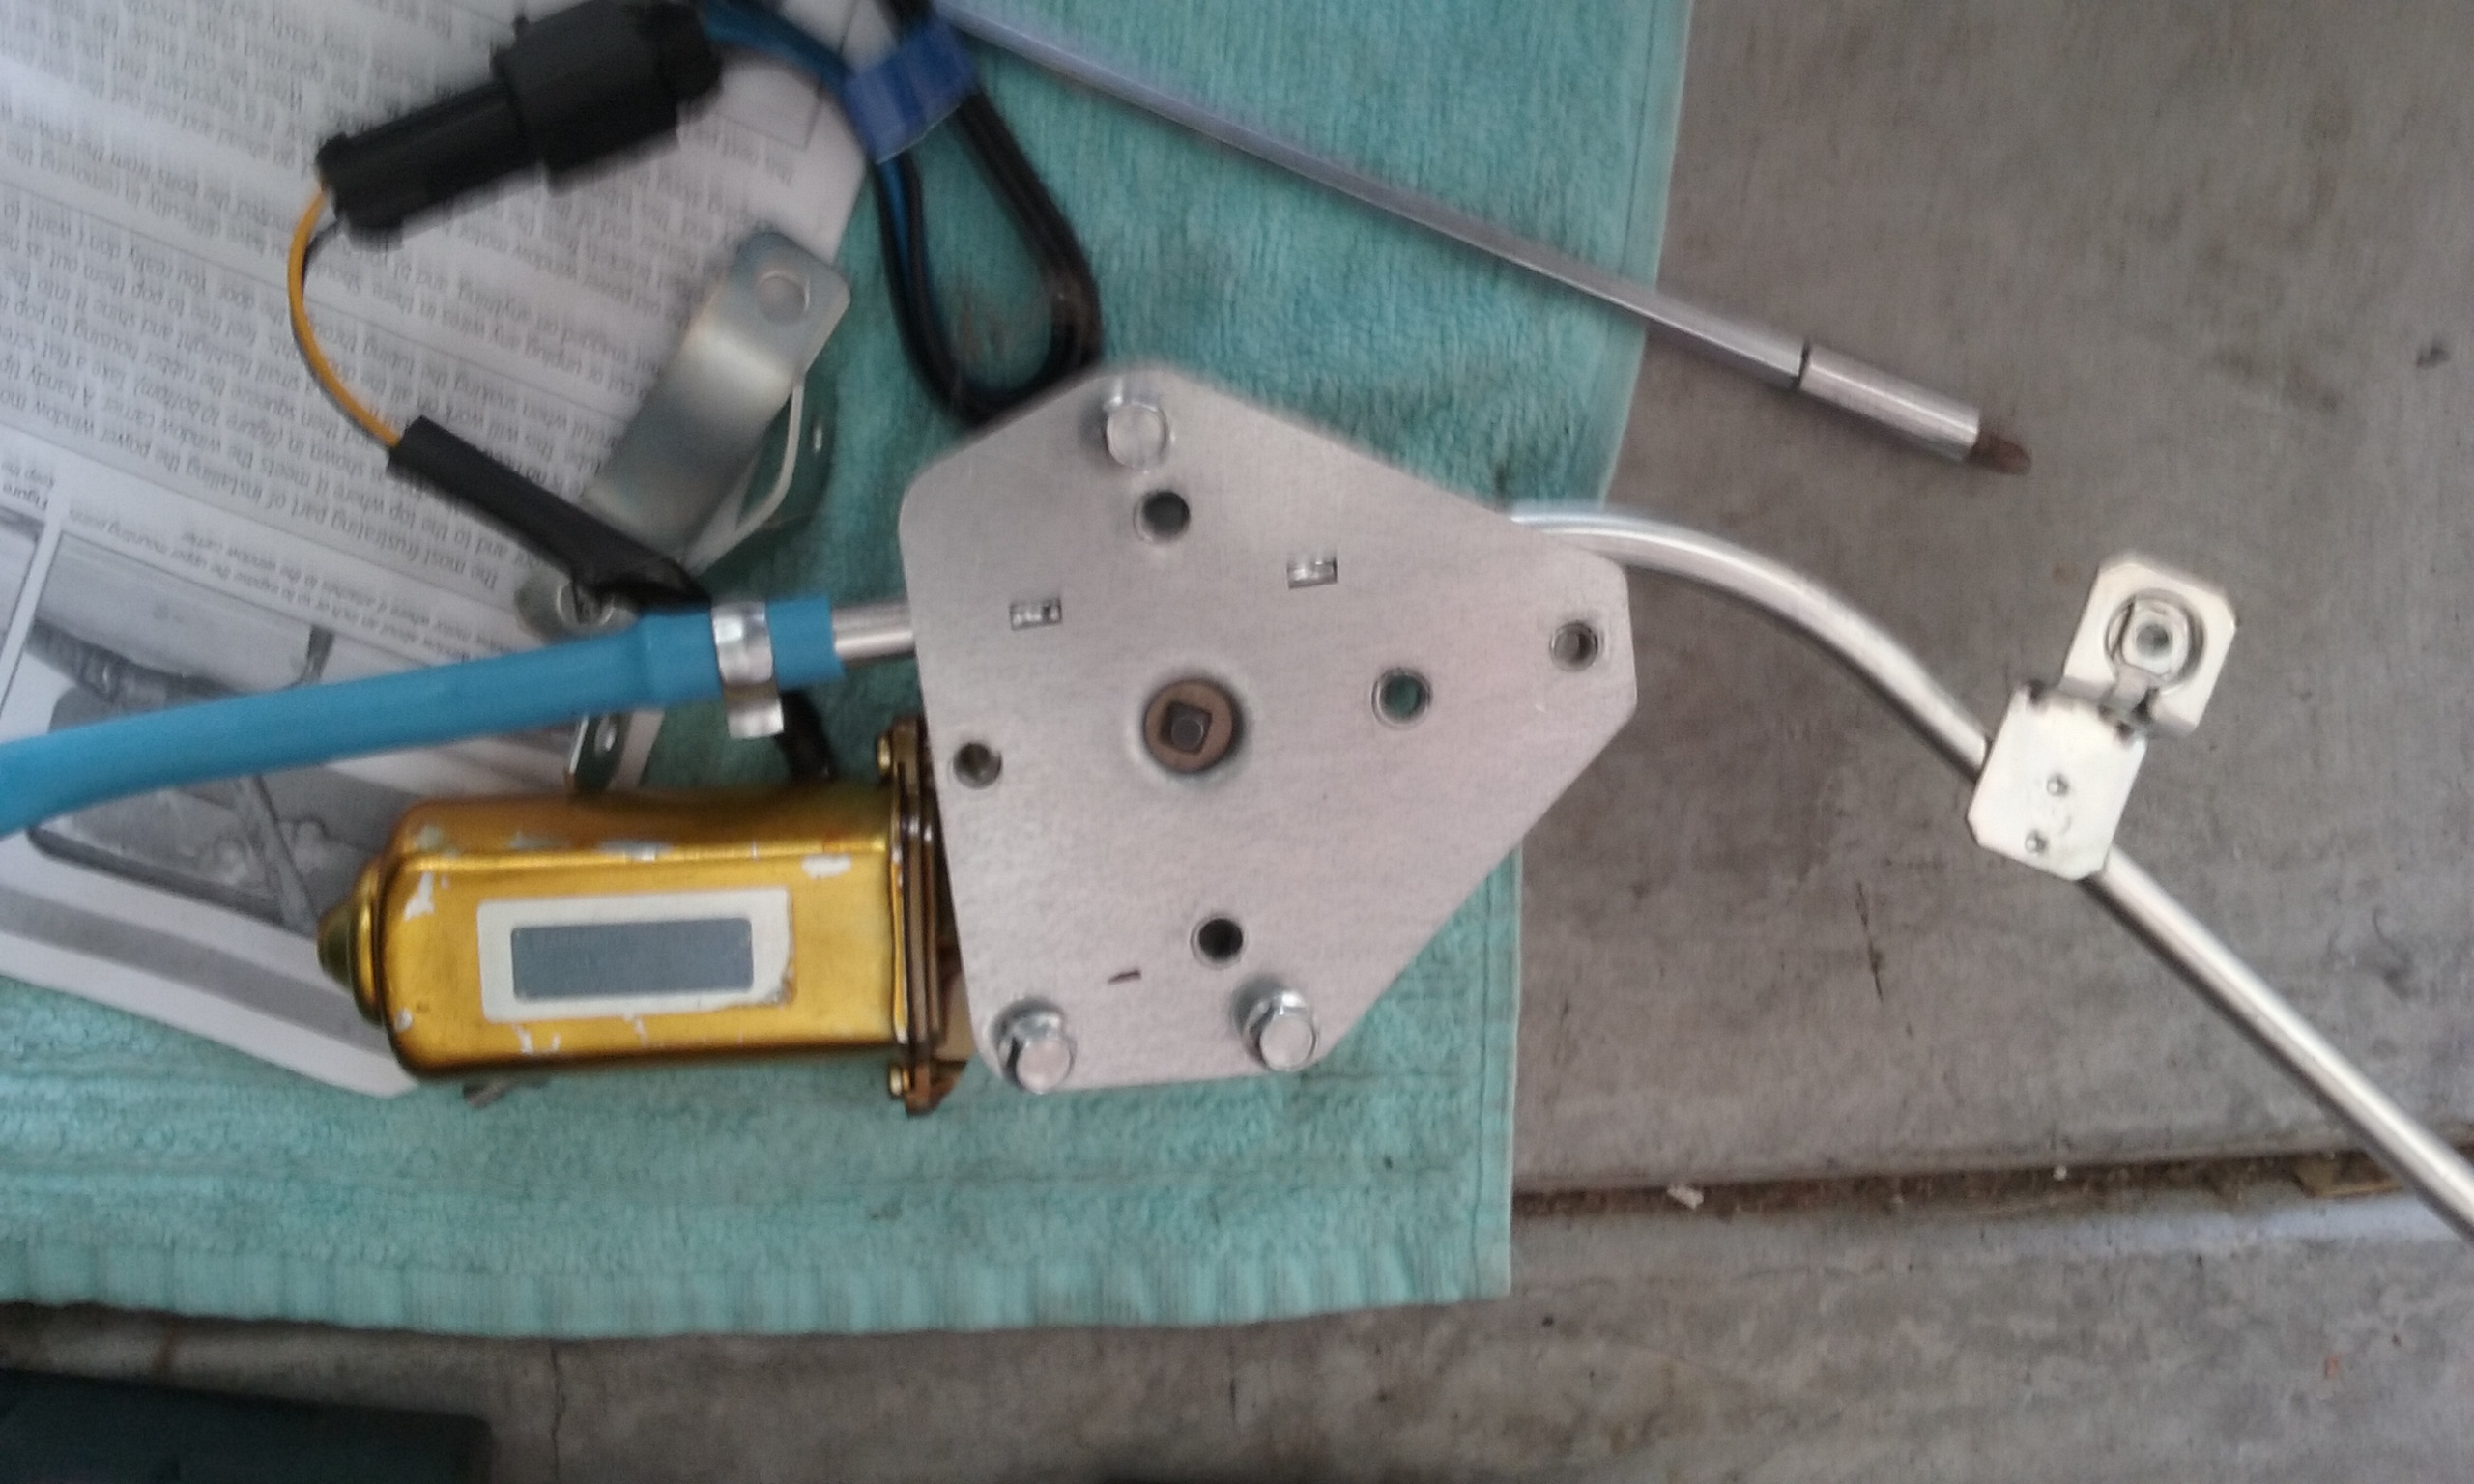
The new regulator. The three bolts are what need to be removed so you can get this into the door. Note the piece off to the right. The instructions claim you need to thread a bolt through this (it took many readings to figure out this was what it was talking about) prior installing this but for the life of me I’ve no idea why.